 When I look at pitching mechanics, I don’t see them as rigid rules or a single “perfect delivery.” Instead, I see them like a roadmap. But no matter what route a pitcher takes, the destination I’m guiding them toward is always the same: a delivery that minimizes stress on the elbow and shoulder while maximizing efficiency and power.
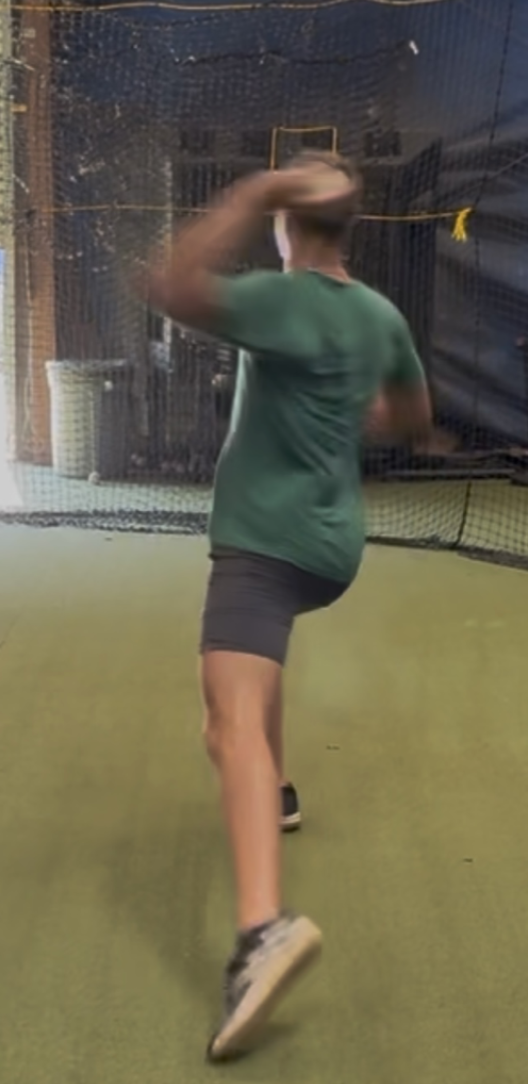
One of the key checkpoints I’m always watching for is what happens when the arm gets into that critical 90/90 position—elbow bent at 90 degrees, arm abducted 90 degrees from the torso, with the hand stacked directly above the elbow when the front side foot hit the ground (see 90/90 position photo). This position is a biomechanical sweet spot. It doesn’t guarantee perfect mechanics, but when pitchers hit this point consistently, it reduces time under tension on the elbow and sets them up for healthier, more explosive throws.
I’m not here to sell one pitching style over another. Every coach has their preferences. But what I’ve learned from years of studying mechanics and working with athletes is that styles vary—checkpoints don’t. No matter how a pitcher moves, I look for specific markers during the delivery that tell me whether they’re efficient, powerful, and safe.
Let’s walk through those checkpoints together—phase by phase.
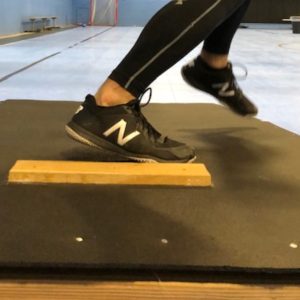
The cocking phase is where force generation begins, and it starts with the lower half. I always check that the pitcher’s hip stays stacked over the back foot and the rubber. When a pitcher drifts forward too soon, they lose the optimal ability to load their backside, and that robs them of both power and timing.
A cue I often give players is simple but effective:
“Imagine there’s a bug under the ball of your big toe. Crush it—but keep pressure along the inside of your foot, all the way from your big toe to your heel.”
This medial foot pressure engages the hip properly and builds a stronger load.
From here, timing becomes the next critical checkpoint. Ideally, the hands separate as the lead knee starts moving downward. When the hands separate late, it often leads to drifting—and when a pitcher drifts, they often separate late. These faults are connected and feed into each other.
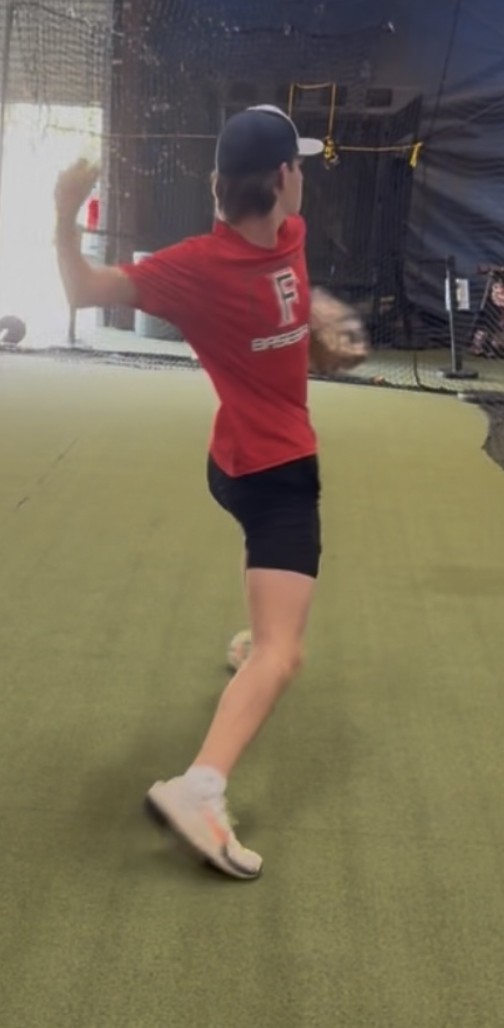
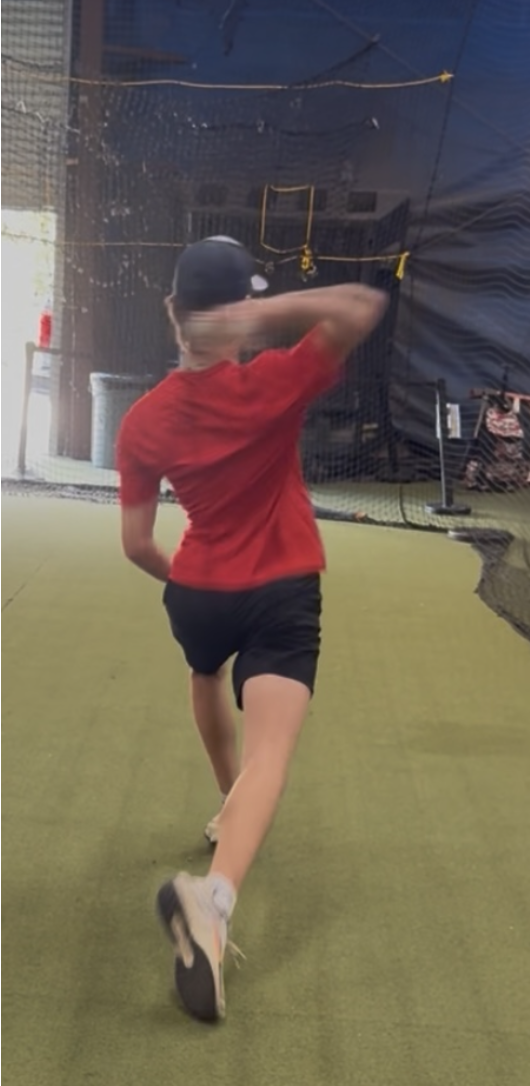
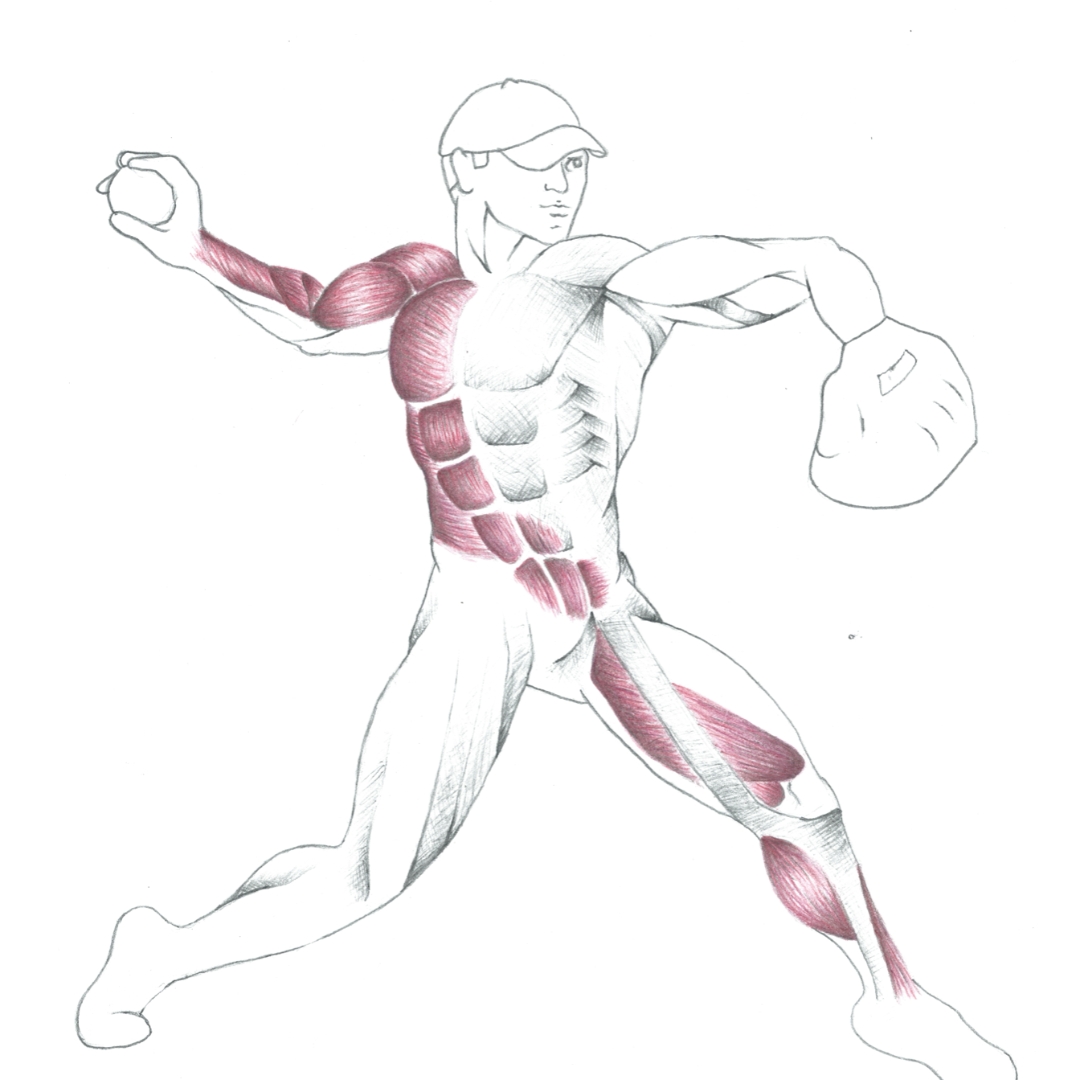
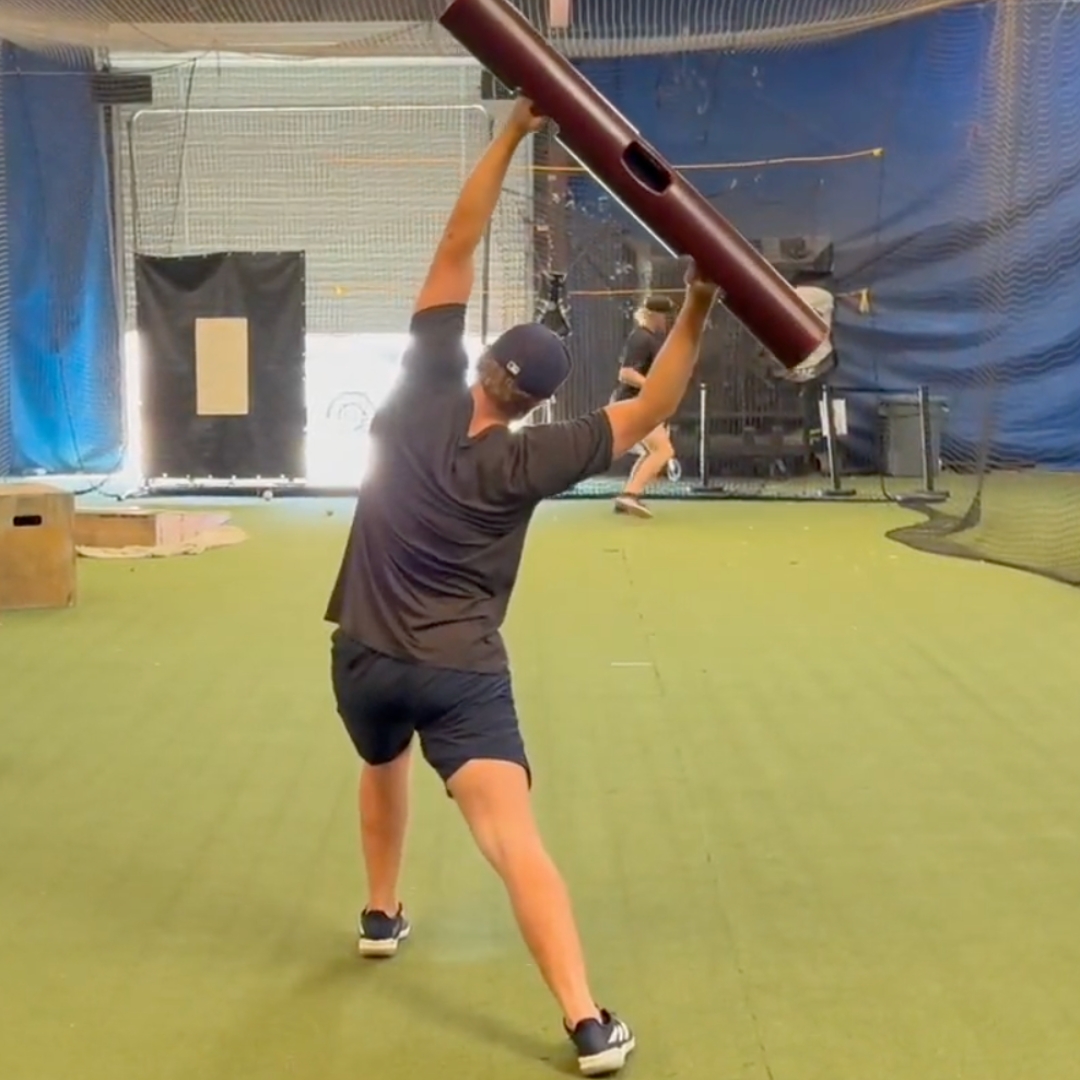
Another thing I watch closely: the path of the throwing hand. If it sweeps too far behind the body—toward first base for a righty, third base for a lefty—it creates timing problems and lengthens the arm path. (see attached photo 1) When this happens, most often the player gets their hand behind their head and into the “stuck” position which places more strain upon the inside (medial) aspect of the elbow. (photo 2)